
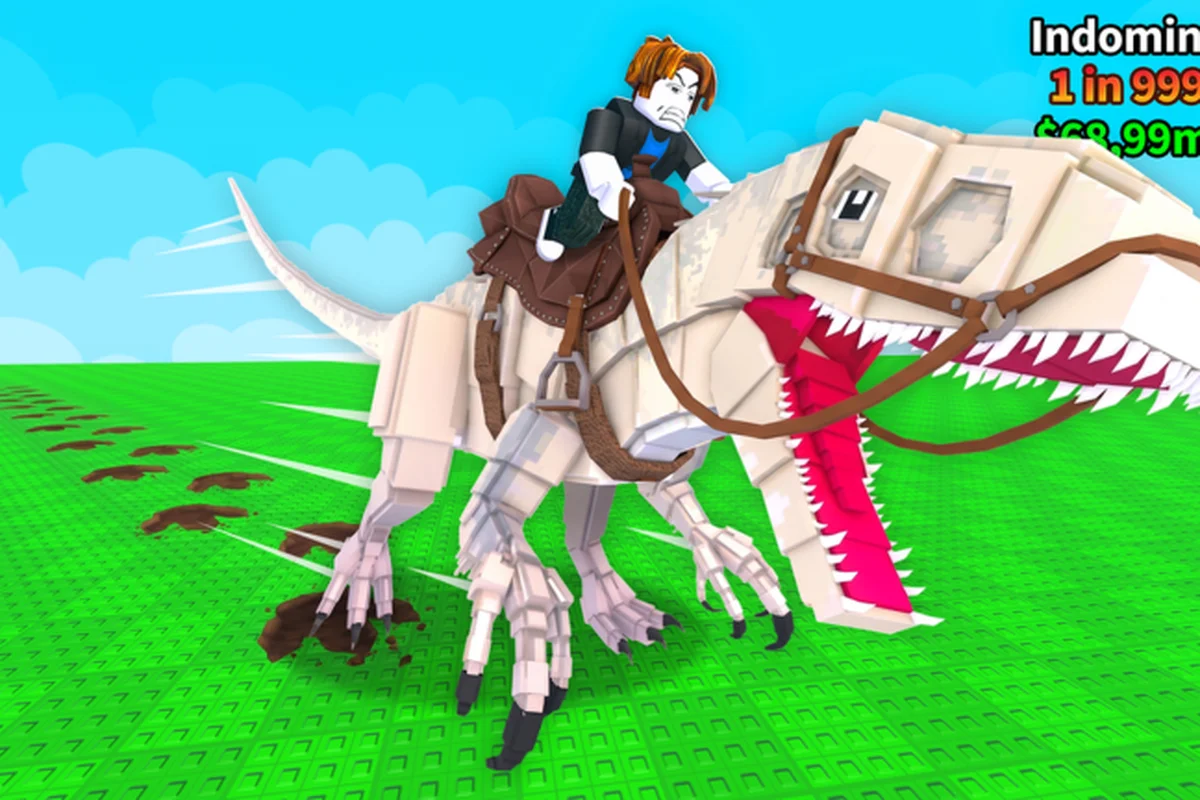
Rarity hunting in Ride a Dino turns a casual mount-simulator into a long-term chase. Players who treat it as a structured hobby — building a catalog, tracking spawns, and grinding for the elusive endgame dinos — get far more replay value than those who simply hop on whatever hatches first. The core loop published on the official Ride a Dino Roblox page is straightforward: explore, find hidden eggs, hatch dinos that hatch swifter and rarer, ride faster dinos to reach harder eggs, mutate for more speed, and collect rare dinos to fill out a personal catalog. Everything below is built around that loop, with the caveat that the developer has not published a species list, rarity tier names, mutation names, or numeric drop values, so this guide explains the system rather than naming fictional tiers.
Why Rarity Hunting Works as a Long-Term Goal in Ride a Dino
The rarity-hunting loop is sustainable because every improvement in your stable opens new ground. A faster mount gets you to harder-to-find eggs, and a mutated mount shaves even more time off each run, so the same map keeps rewarding you for months. According to the Dino Riders! developer group on Roblox, the experience is built and updated by a single verified account (Robots_Devv), and the group has shipped the Infinite Radar game pass as a permanent helper tool for egg seekers. That single-pass design — one optional helper, no microtransaction ladder — keeps the rarity grind competitive without spending Robux on cooldown skips.
Player retention data on the official page (snapshot 2026-10-18) shows around 2.57 million visits and roughly 27,950 favorites, which suggests a healthy active community trading tips about the rarest dinos. With a 6-player server cap, sessions feel tight and discovery-driven rather than lobby-based. The complete dino catalog strategy walks through the full collection arc from your first hatch to endgame, and pairs naturally with a focused rarity-hunting checklist.
The Published Mechanic Loop in Plain Language
| Step | What the Official Page Says | What It Means for Rarity Hunting |
|---|---|---|
| 1 | Explore the map to uncover concealed dino eggs | Rarity starts at the discovery step; eggs are not buyable |
| 2 | hatch dinos that come out quicker and rarer than the last | Each hatch is a roll on the rarity axis — better eggs, better odds |
| 3 | ride a swifter mount to open eggs tucked further out | Speed is the gating currency, not coins |
| 4 | mutate a mount so its speed climbs higher still | Mutation multiplies your reach, not just your mount's stats |
| 5 | gather scarce dinos and grow out your roster | The catalog is the long-term save file |
Notice what is not on that list: there is no published speed number, no hatch percentage, no mutation probability, and no shop. Every "how rare is rare" question is answered only by observation. If you want a deeper mechanical breakdown, the Ride a Dino full strategy walkthrough frames the same loop from a beginner perspective and is a useful cross-reference for newer players.
Building Your First Rarity-Hunting Checklist
A checklist is the single most effective tool for this game, because the official page never tells you when you've "finished" — there is no achievement tied to a number, no badge system, and no in-game counter that publishes a completion percentage. The checklist is yours to design. A solid starter checklist has four columns: target rarity band, mount requirement to reach it, mutation priority, and catalog slot.
| Checklist Column | What to Track | Why It Matters |
|---|---|---|
| Target rarity band | Where your current best hatches sit on the rarity spectrum | Sets your next farming goal |
| Mount requirement | Minimum speed tier needed to outrun hazards and outpace other players | Prevents you chasing eggs you cannot safely reach |
| Mutation priority | Which hatches are worth spending mutation attempts on | Saves materials for endgame builds |
| Catalog slot | Open vs. filled slots in your personal catalog | Gives a visible progress bar you control |
Players who keep this checklist on paper, a notes app, or a screenshot folder tend to stick with the grind longer, because they can see movement on the catalog axis even when the RNG feels cold. If you are starting from zero, the Ride a Dino all-dinos checklist for collectors already sketches the structure and saves you from reinventing it.
Choosing a Checklist Format That Survives Updates
Because the game was created on 2026-09-18 and last updated on 2026-10-12, anything you write down may shift. The format that ages best is abstract — write "target band 3," not a specific species name that may be rebalanced next patch. A good rule of thumb: if your checklist uses a word the official page does not, treat that word as a community label, not an official rarity tier, and be ready to relabel it when a future update publishes a real name.
Farming the Rarest Eggs: Practical Routes and Timing
Rare dino farming in this experience is mostly a routing problem. The map is shared, the server is capped at 6 players, and faster mounts outpace slower ones on every long run. That means whoever reaches a remote egg first usually claims it, so the question is not "how do I get lucky" but "how do I arrive first and find the egg before someone else does."
Route Design Principles for Egg Runs
| Principle | Practical Action | Expected Benefit |
|---|---|---|
| Front-load the closest egg first | Start each session by clearing the nearest cluster to bank a guaranteed hatch | Builds momentum and pad your catalog early |
| Use speed to skip low-yield zones | Once you have a mid-tier mount, ignore the starter egg cluster | Frees time for the longer rare runs |
| Circle the map in one direction | Plan a single loop, not back-and-forth zig-zags | Reduces retracing through already-spawned territory |
| Save the remote eggs for off-peak hours | Lower server pop means fewer competing claims | Increases the odds of an uncontested rare hatch |
Because the experience does not publish drop rates, "rare" here is an observation, not a stat. Community reports suggest that the eggs located farthest from the spawn point tend to be the highest-yield, but the developer has not confirmed that, and a future update could rebalance spawn weights. Treat any pattern you find as a working theory, not gospel, and rerun your route after every patch.
Why Infinite Radar Changes the Calculus
Infinite Radar is the only documented game pass (productId 3716208223) and its listing describes it as a radar that "always finds the nearest egg." For a rarity hunter, that turns a 20-minute exploration sweep into a 2-minute pinpointer, which compounds massively across hundreds of sessions. It does not raise hatch odds — it only shortens time-to-egg — so the skill ceiling for finding eggs drops, but the skill ceiling for which eggs you target stays exactly where it was. If you buy the pass, the right way to use it is to point it at the most remote egg you can safely reach with your current mount, not the nearest one.
Using Speed, Mutation, and Mount Choice to Push Rarity
Speed is the only published differentiator between mounts, and mutation is the only published way to push that differentiator further. Because nothing else is published — there is no official stamina bar, no combat stat, no weight class — the rarity-hunting endgame reduces to: which mount gets you to the egg first, and which mutation pushes that mount's speed higher.
A Speed-First Decision Framework
| Mount Profile | Best Use Case | Trade-off |
|---|---|---|
| First rare hatch | Short, safe loops; learning the map layout | Slowest, so low reach |
| Mid-tier with no mutation | Reliable mid-distance egg runs | Decent reach, no surprise value |
| Mid-tier with one mutation | High-yield egg clusters, contested routes | Stronger but mutation slot is now spent |
| Top rarity + multiple mutations | Endgame egg routes and re-roll chasing | Replaces mid mounts; careful not to lose it |
The framework above avoids naming specific species because the developer has not published a species list. What you can do is judge your own hatches against the criteria: rarity band, observed speed, and number of mutations applied. When in doubt, keep two mid-tier mutated mounts rather than one top-tier — the catalog is a long game, and a backup mount saves a session when your flagship gets stuck or rerolled.
Mutation as a Multiplier, Not a Magic Stat
The official wording is "mutate a mount so its speed climbs higher still," which is deliberately vague. Treat mutation as a multiplier on whatever speed your mount already has. A mutation on a low-tier mount gives you a faster low-tier mount; a mutation on a high-tier mount gives you a dramatically faster mount, which is the rarity-hunting endgame state. Spend mutation attempts where they multiply the most, not on cosmetic variety. The Ride a Dino mutation chance and farming mechanics page goes deeper into when to commit a mutation attempt and when to hold off.
Setting Realistic Collection Goals and Knowing When You Are "Done"
There is no end-screen in Ride a Dino — the developer has not published a final catalog count, a "you win" achievement, or a 100%-completion badge. That is intentional, and it is the reason collection goals need to be self-defined. A good collection goal has three properties: it is measurable on your own checklist, it survives the next patch, and it gives you a clear next action when the RNG goes cold.
A Three-Tier Goal Structure That Holds Up
| Goal Tier | Definition | Time Horizon | When to Move On |
|---|---|---|---|
| Foundation | Hatch 1 of every rarity band you have seen | First 20-30 hours | When you stop seeing new bands for a week |
| Specialization | Push one mount to its mutation cap | Next 40-60 hours | When that mount's speed stops opening new eggs |
| Completionist | Fill the catalog with one of every band, mutated when possible | Long-term | When new patches keep adding bands faster than you can fill them |
Notice the moving-target problem: if the developer keeps adding higher rarity bands (the language "better rarity" implies a vertical ladder, not a fixed list), your "complete the catalog" goal keeps slipping. That is why the all-dinos collection reference stays useful over time — it is structured around rarity bands, not species, so new additions slot in naturally rather than invalidating your progress.
How to Show Off a Collection Without a Built-In Showcase
The game does not have a published "showcase" tab, an in-game display pedestal, or a profile badge tied to catalog completion, so there is no built-in way to show off what you have hatched. Community workarounds, reported by players on social media, tend to combine a personal tracking sheet with a short list of your proudest hatches:
-
Building a screenshot folder organized by rarity band, mutation count, and hatch date
-
Recording short clips of your best mount during a difficult egg run
-
Trading stable screenshots with other rarity hunters in fan communities
-
Keeping a public spreadsheet with abstract labels (Band A/B/C, M0/M1/M2) rather than species names that may shift
The Ride a Dino dinosaur rarity and stats reference is a useful anchor when you want to discuss your mounts in band-relative terms without depending on labels that the next update might rename. Because no official tier names exist yet, any rarity conversation you have with other riders works best when it points at observable traits — movement speed, hatch frequency, and how far a mount can travel before you need a new egg.
Adapting Your Hunt After Every Patch
The game is one month old at the snapshot date and has already received at least one content update. That pace is likely to continue, which means a rigid checklist will break. A flexible checklist — built around rarity bands and mutation tiers, not specific species — survives. A rigid checklist, built around a specific egg location or a specific species name, will need a rewrite every few weeks.
| Patch Impact | What to Recheck First | What You Can Skip |
|---|---|---|
| New egg locations added | Remote egg routes, Infinite Radar efficiency | Starter egg cluster paths |
| Rarity band rebalanced | Target band for the next 20 hours of farming | Mutation priority list |
| Mutation mechanics tuned | Mutation spend timing | Mount replacement cadence |
| New mount type introduced | Whether your flagship is still top-band | Lower-tier farming routes |
The unofficial last-updated timestamp on the official page is 2026-10-12, just six days before this article's snapshot, which tells you how fast this game is still moving. Expect more patches, expect the meta to shift, and design your collection goals around mechanics and routines rather than specific named dinos so your plan survives the next balance pass.
Frequently Asked Questions
What is the best way to start rarity hunting in Ride a Dino?
Start by hatching your first mount from the nearest egg cluster, then immediately switch to the longest egg run you can reach on foot. According to the official Ride a Dino page, speed is the gating currency, so every early hour should buy you a slightly faster mount that opens the next ring of eggs. Keep a checklist with rarity bands, not species names, so it survives the next patch.
Is the Infinite Radar game pass worth buying for rare dino farming?
It is the only documented game pass, and it cuts your time-to-egg dramatically by pointing you at the nearest hidden egg. It does not raise hatch odds, so its value is purely in routing speed. If you already have a fast mount and you know where the remote eggs are, the pass is less valuable; if you are still learning the map, it is the single biggest quality-of-life upgrade available.
How do I know when a dino is "rare" if the game does not publish rarity names?
The official page only describes rarity in relative terms ("better speed and rarity"), so rarity is something you infer from observation rather than read off a label. A practical proxy is how often you see the same mount in other players' stables — common hatches appear in almost every session, while rare hatches may show up once a week or less. The full rarity and stats reference lives in the Ride a Dino dinosaur overview.
Can I 100% complete the catalog in Ride a Dino?
As of 2026-10-18, the game has not published a final species list, a rarity tier count, or a completion badge, so there is no in-game definition of "100%." A practical completionist target is to fill one mount per rarity band with a mutation applied where the speed gain is meaningful, then maintain that list as patches add new bands. The Ride a Dino collection FAQ and odds reference lays out a sustainable version of that goal.
How do I show off my collection if the game has no built-in showcase?
Players typically export their stable to a screenshot folder or short clips, then share in fan communities. Keep your labels abstract — rarity band and mutation count — so the showcase stays accurate when a future update renames or rebalances a tier. Avoid trading on labels the official page does not use, because those labels may not survive the next patch.