
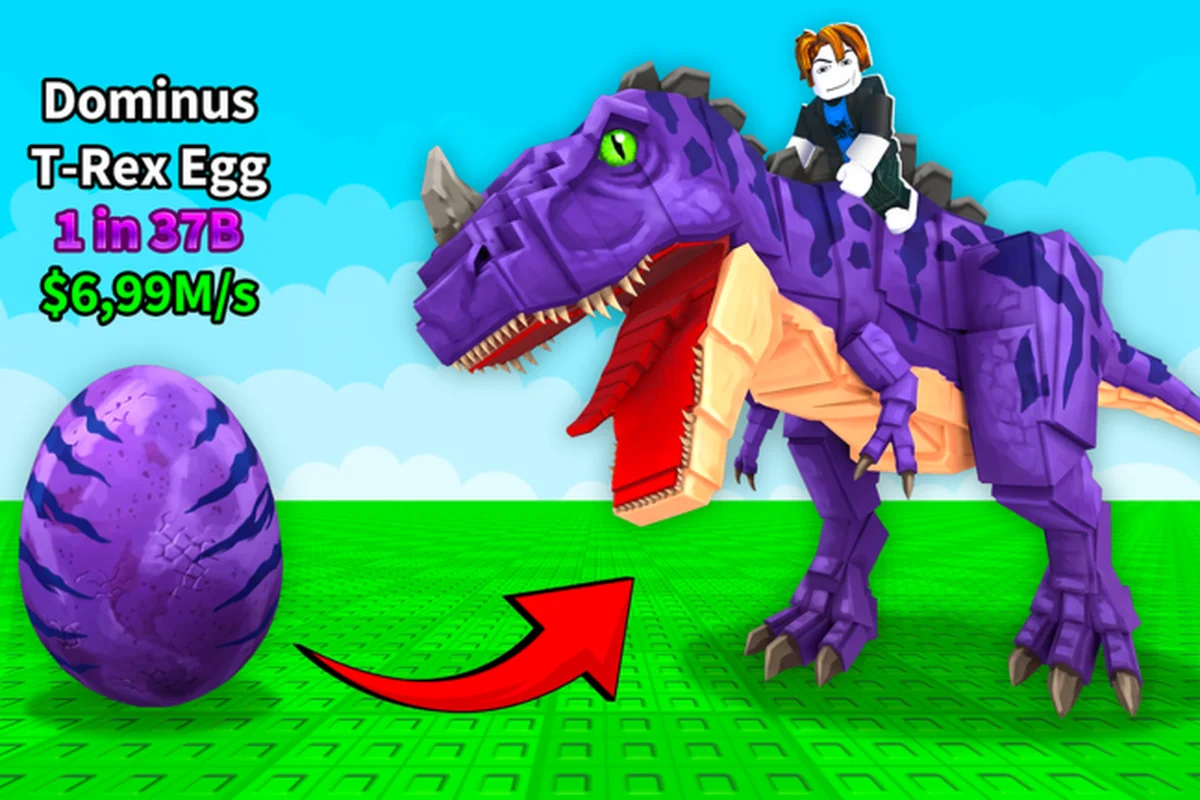
Ride a Dino hands every player a single, deceptively simple question the moment they sit on their first mount: do you spend the next hour chasing the next egg to fill your dino index, or do you push hard on speed so the next egg is easier to reach in the first place? That tension between collection vs speed is the entire reason sessions feel longer than they should, because every minute invested in either path is a minute the other path is not getting. The official Ride a Dino Roblox page describes the loop in five mechanics — find hidden Dino Eggs, hatch dinos that come out quicker and rarer than the last, ride a swifter mount to open eggs tucked further out, mutate to boost speed even more, and collect rare dinos — which already tells you that the two paths are not really separate, they are two sides of the same engine. This guide breaks down which side to weight on any given day, what each path actually pays back, and where the rare-hatch sweet spot sits when you are trying to finish your dino dex without burning out on the grind.
The Core Trade-Off Between Finishing Your Index and Grinding Speed
Every Ride a Dino session is shaped by one decision axis: are you advancing your dino index (your collection log) or are you advancing your mount speed (the number that decides how fast you can reach the next hidden egg)? Because eggs are scattered across a map that is bigger than a fresh player can comfortably cover on foot, the two systems feed each other, and the question "which one first" has no universal answer.
How the Two Systems Talk to Each Other
According to the developer's own description on the official Roblox page, riding a faster dinosaur is the intended way to "reach harder-to-find eggs." That single line is the entire economic case for the speed path — the speedier your mount, the larger your reachable territory, and the larger your reachable territory, the higher the chance your next egg is one you have not yet added to your collection. On the other hand, eggs that drop rarer dinosaurs push both your index and your next-hatch ceiling upward at the same time, so a lucky pull can move both bars in a single hop. Players who treat the two paths as parallel pipelines rather than competing priorities tend to make the most progress per session, because the gains compound instead of canceling out.
| Path | Direct Reward | Knock-on Effect | Best Session Length |
|---|---|---|---|
| Pure Collection | New dino added to the dino dex | Slightly better hatch odds on next try | Short (15–25 min) |
| Pure Speed | Faster mount, larger reachable map | More eggs reachable per minute | Medium (30–45 min) |
| Hybrid (recommended) | Steady index progress + speed creep | Each loop unlocks the next | Long (45–75 min) |
The hybrid row is the one most long-term players settle into after the first week, because pure collection plateaus fast when the easy eggs on the starter island are exhausted, and pure speed plateaus just as fast when you have a fast mount but no rare hatch to show for it. Mixing the two means every speed upgrade directly funds the next rare pull, and every rare pull lifts the speed ceiling for the run after that.
What "Completing the Dex" Actually Means in Ride a Dino
The dino dex (sometimes called the dino index in community discussions) is the in-game collection tracker that records every dinosaur species you have successfully hatched at least once. As of 2026-10-18 the developer has not published a full species list, a rarity tier list, or a numeric count of how many entries the dex can hold, so players are working from in-game observation and community reports rather than an official checklist. The practical takeaway is that "completing the dex" is an open-ended goal: the closer you get, the rarer each remaining slot becomes, and the more your progress depends on the speed of your current mount and the mutation rolls on your latest hatch.
This is why the collection vs speed question never really resolves into a single right answer — both ends of the path are pulling on the same rope. Players who push for completing the dex without a fast mount end up walking the same starter loops over and over, while players who only chase speed end up with a near-empty index and very little to mutate next. The right balance depends on your current bottleneck, not your long-term goal.
When the Speed Path Pays Off Faster
Speed is the path that shows visible results within a single session, because every mutation tick and every mount swap is a number that ticks upward in real time. For players who have just hatched their first rare and want to push into harder-to-reach egg zones before the server rotates, speed tends to be the right first priority.
Signs You Should Prioritize Speed Right Now
There are three session-level signals that the speed path is the right call for the next 30 to 45 minutes. First, you are spending more than 30 seconds of every minute traveling rather than hatching — that ratio is the clearest indicator that your mount is the bottleneck, not your luck. Second, you have already added at least three new entries to your dino index in the past two sessions and the new ones are not pushing your mutation ceiling much higher, which means more index slots will not move your progression needle until you can actually reach the eggs that drop them. Third, the harder-to-find egg zones are visibly out of reach — the egg guide companion piece covers how to recognize when an egg cluster is gated by travel distance rather than by hatch luck.
The Mutation Loop and Why It Compounds
Mutation is the system the developer calls out as the "even more" speed boost on top of an already-rarer hatch, and community testing suggests that a single successful mutation can shift a mount from "starter-island only" to "reaches the next egg ring" in a way that a new rare hatch alone often does not. Because each successful mutation widens the reachable map, the next egg you find is more likely to be one you have not yet added to the index, which is the moment the two paths finally lock together. That lock-in is what the speed-first crowd is actually chasing, even when they describe their goal as "I just want a faster mount."
| Speed Source | Reach Increase | Index Knock-on | Time to First Payoff |
|---|---|---|---|
| New rare hatch | Modest | Direct slot added | Immediate |
| Successful mutation | Large | Indirect (better egg reach) | 2–4 sessions |
| Infinite Radar (game pass) | Constant | None directly | Instant on purchase |
The Infinite Radar row in the table is worth pausing on, because it is the only documented game pass in Ride a Dino — its Roblox product listing describes it as "a radar you can use forever that always finds the nearest egg." It does not change your speed, but it does change how much of the speed you have is actually useful, because a fast mount with no idea where the next egg is spends a lot of its time circling the same starter ring. Players who already own Infinite Radar get more value out of every speed upgrade than players who do not, which is one of the few clean reasons to weigh the speed path heavier if you have the pass.
The Real Ceiling of Pure Speed Grinding
The catch with the speed-first path is that the reachable map has a hard upper limit at the edge of the playable area, and once your mount can cross that in a single sprint, more speed stops being useful. Community reports from players who have spent the better part of a week grinding mutations suggest the ceiling sits somewhere between "fast enough to lap the whole island in under a minute" and "fast enough to outrun every spawn distance the developer has placed in the current build." Once you are in that band, the marginal value of one more mutation tick drops sharply, and the index becomes the path that actually has more untapped progress.
When the Collection Path Pays Off Faster
Collection is the slower, quieter path, and the one most players underestimate on their first three or four sessions. It does not give you the visible mount upgrade that a mutation does, but every new entry in your dino dex is a permanent, irreversible expansion of what you can mutate next, which means the index path is really the path that unlocks the speed path's next tier.
Why Filling the Index First Works for Some Players
There is a recognizable group of players — usually the ones who hit the game during a low-population server window and find that easy eggs are plentiful on the starter ring — for whom a pure collection pass actually outpaces speed grinding. When eggs are everywhere, the bottleneck is not how fast you can reach them, it is how many of them you can crack before the server rotates, and the right play is to push the index as wide as possible before you spend any time on mutation. The collection guide companion piece walks through how to recognize this state, but the simplest tell is the one already mentioned: if every ride ends with a new entry in the dex, you are in the collection window, not the speed window.
The Rare Hatch Guide Mindset
A rare hatch guide in the Ride a Dino community is shorthand for "play in a way that biases the next egg toward a higher rarity bracket," and the way to do that without a documented rarity tier list is to focus on three inputs the developer has confirmed: harder-to-reach eggs, better starting rarity on the parent mount, and successful mutations. Each of these is a multiplier on the next, which is why players who chain all three tend to log the most dramatic single-session index jumps.
| Input | Source (Confirmed by Developer) | Effect on Next Hatch |
|---|---|---|
| Harder-to-reach egg | "ride a swifter mount to open eggs tucked further out" | Higher chance of rarer drop |
| Better parent rarity | "hatch dinos that come out quicker and rarer than the last" | Higher floor on next rarity |
| Mutation | "mutate a mount so its speed climbs higher still" | Indirect — opens up harder eggs |
The three rows in the table are not independent multipliers, they are sequential steps. A higher rarity parent is what lets you reach harder egg zones comfortably, and harder egg zones are what feed the next rare hatch. Players who skip the first row and try to brute-force a rare pull from starter-ring eggs end up grinding far longer per index slot than players who sequence the three correctly, which is one of the cleanest arguments for the hybrid path.
How to Hatch Rare Dinos Without Burning the Session
Because the developer has not published odds, the only honest answer to how to hatch rare dinos in Ride a Dino is a sequence of session-level choices rather than a single trick. The community-tested sequence that holds up across the most reports is: ride to the edge of your current reachable map, crack the hardest egg you can find, hatch it even if the rarity looks modest because the parent slot still matters, attempt one mutation cycle on the result, and only then ride back to the starter ring to bank any extra easy eggs. The hatching companion guide covers the hatch step in more detail, but the key insight is that patience on a single rare pull almost always beats volume on five common pulls, because the index slot is permanent and the common pulls usually end up as mutation fodder within two sessions.
Reading Your Own Progress Without Official Numbers
One of the most unusual things about Ride a Dino is that the developer does not publish the numbers most guides depend on. As of 2026-10-18 there is no official species list, no rarity tier names, no mutation names, and no numeric speed or drop rate anywhere on the Roblox page or the Dino Riders! community page. That means every comparison between the collection and speed paths has to be built from observable behavior rather than from a published table, and the table you build for yourself is the one that matters.
Building a Personal Progress Table
The most reliable way to compare the two paths on your own account is to log three numbers at the end of every session: how many new entries you added to the dino index, how far your fastest mount can comfortably reach in under a minute, and how many mutation attempts succeeded out of the total you tried. Over four or five sessions those three columns start to show which path actually moved the needle and which one was just feeling productive. Players who skip the log and rely on memory tend to over-weight whichever path they happen to enjoy more, which is a fast way to spend two weeks grinding speed on a build that did not need it.
| Session | New Index Entries | Reachable Map Edge | Mutation Success / Attempts | Bottleneck |
|---|---|---|---|---|
| 1 | — | — | — | Baseline |
| 2 | ? | ? | ? | Compare to baseline |
| 3 | ? | ? | ? | Compare to baseline |
| 4 | ? | ? | ? | Pick the laggard |
The bottleneck column is where the actual decision lives. If your reachable map edge has barely budged across four sessions while your index keeps growing, the speed path is where your next push should go, because the ceiling of "more entries" is starting to flatten. If your reachable map edge keeps stretching but your index has stopped growing, the collection path is overdue, because the speed you have bought has no fresh content to chew on. This is the same loop the collection progress companion piece tracks, but the four-column version is enough to make a decision on its own.
Community Reports vs Official Data
Almost every numeric claim about Ride a Dino you will find outside the developer's own pages comes from a player run and a community report, and the most important habit to keep is treating those numbers as "as of when this player logged it," not as facts about your current build. The game is about thirty days old as of 2026-10-18, and the most recent recorded update on the official page is 2026-10-12, so values that were true last week can shift in the next patch. The right reading of any community stat is "this is the shape of the system, not the exact number," and the right comparison between collection and speed is the same — the shape of the payoff is what you are tracking, and the exact number of index slots or speed ticks can move without invalidating the strategy.
Picking the Right Path for Your Next Session
A clean way to translate the trade-off into a daily plan is to classify your current state into one of three buckets, and then pick the path that the bucket actually wants. The three buckets are not strict — they are guides to keep you from spending a session on the wrong axis.
State A — Index Empty, Speed Low
If you are on day one or two and your dino dex has fewer than a handful of entries and your mount is still in the starter-speed band, the right call is the hybrid path with a slight lean toward speed, because the first mutation is what unlocks the first harder egg zone, and the first harder egg zone is what feeds the first rare pull. Resist the urge to grind the starter ring for an hour — the index will fill itself once your mount can reach the next ring. The hatching guide is the right companion read for this state, because it covers how to recognize when your starter mount is ready to be replaced.
State B — Index Steady, Speed Stagnant
If your index has been growing every session but your reachable map edge has been flat for three or four sessions, the speed path is overdue. This is the state where most players get stuck, because the index feels productive, but the underlying engine is starved of new egg inputs. Switch the next session to mutation focus, even if it means walking away from a few easy starter eggs, because the next rare hatch is what reopens the index pipeline. The tier list companion piece is useful here, because it covers how to decide which dino to mutate next when you have several candidates in your collection.
State C — Index Stalled, Speed Maxed
If your reachable map edge is at the edge of the playable area and your index has not grown in two or three sessions, the collection path is overdue. The fix is not to grind more speed — the speed has nowhere to go. The fix is to spend a session cracking every egg you can find, including the easy starter ones, because the index slot is the only thing that still has untapped value. Once a new slot unlocks, the speed ceiling usually moves with it, because a new parent mount can roll a fresh mutation seed.
Frequently Asked Questions
Should I focus on my dino index or my mount speed first in Ride a Dino?
On day one and two, lean slightly toward speed because the first mutation is what unlocks the harder egg zones, and harder egg zones are what feed the first rare pull. From day three onward, switch to a hybrid loop where every 30 to 45 minutes alternates between a mutation push and a wider egg sweep, because the two paths compound instead of competing.
Is there an official Ride a Dino rarity list I can use to plan my collection?
No. As of 2026-10-18 the developer has not published a rarity tier list, a species list, or numeric drop odds on the official Roblox page, so any rarity list you find elsewhere is community-observed and may shift between updates. Plan around the developer's three confirmed inputs — harder-to-reach eggs, better parent rarity, and successful mutations — rather than around an imported tier list.
How do I hatch rare dinos without spending the whole session grinding?
Sequence the three confirmed inputs: ride to the edge of your reachable map, crack the hardest egg you can find, hatch it even if the rarity looks modest, and run one mutation cycle on the result before you bank any easier eggs. Patience on a single rare pull almost always beats volume on five common pulls, because the index slot is permanent and the common pulls usually end up as mutation fodder within two sessions.
Does the Infinite Radar game pass help with the collection vs speed decision?
It helps the speed path more than the collection path, because the pass listing describes it as a radar that always finds the nearest egg. With Infinite Radar, every speed upgrade is more efficient because you spend less of your mount's stamina circling the same starter ring, so players who own the pass should weight the speed path a little more heavily than players who do not.
How do I know when my dino dex is actually close to complete?
Watch the gap between sessions — if the gap between new index entries is stretching from one session to two, then to three, you are approaching the long tail of the dex. At that point the next pull is almost always gated by the speed of your current mount, so the right move is to spend a full session on mutation rather than on more index sweeps, because the rarer the remaining slot, the more the harder egg zones matter.