
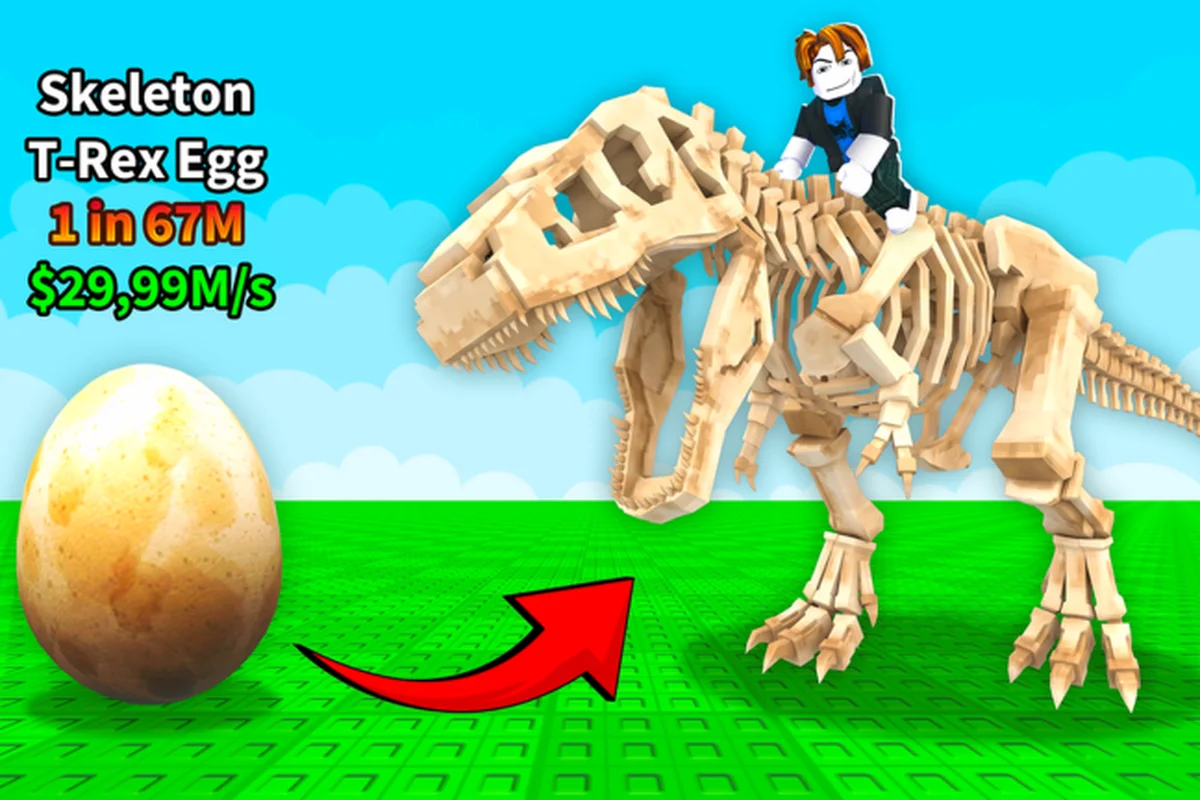
Picking your first ride in the game Ride a Dino feels easy until you realize the game ships without a public species list, rarity tier names, or numeric speed values. The Ride a Dino dinosaur picker problem is real for anyone trying to choose between favorites without a built-in comparison screen, so this guide builds a personal decision framework using only mechanics the developer has actually confirmed.
How the Ride a Dino Dinosaur Picker Problem Works
The loop in Ride a Dino is short and tightly connected, which is why choosing a favorite matters more than it first looks. According to the official Ride a Dino Roblox page, players roam the map to uncover concealed dino eggs, hatch dinos that come out quicker and rarer than the last, ride a swifter mount to open eggs tucked further out, mutate dinosaurs to boost speed even more, and collect rare dinos to build out a collection. Every part of that loop feeds the next, so the ride you mount first quietly sets your ceiling for the rest of the session.
The Published Mechanic Loop
The mechanic loop can be compressed into five steps, each gated by the previous one: a beginner on a slow starter dino cannot cover the distance needed to reach the far egg spots, and skipping a hatch tier to chase a flashy rare dinosaur usually means spending the session riding instead of collecting. Each step in the chain — map exploration, egg discovery, hatching, riding, and mutating — feeds the next, so the order matters more than the look of any single hatch.
| Step | Mechanic | What It Produces | What It Costs |
|---|---|---|---|
| 1 | Explore the map | Egg locations discovered | Time on foot |
| 2 | Discover hidden eggs | A new egg in your inventory | Travel into areas you do not yet know |
| 3 | Hatch new dinosaurs | A rideable dinosaur with its own speed and rarity | The egg itself |
| 4 | Ride a swifter mount | Access to harder-to-find eggs that outpace slower mounts | The time spent hatching until a faster mount appears |
| 5 | Mutate dinosaurs | A speed boost on top of base speed | Committing the boost to one specific dinosaur |
This is why a beginner "favorite" is rarely the rarest hatch on day one. The dinosaur that moves you through the map fast enough to clear more egg nodes in a sitting is the one paying back the most value, even if a flashier dinosaur sits two tiers above it on someone else's showcase.
What the Game Does and Does Not Publish
A lot of would-be picker data does not exist in the official channels. As of 2026-10-18, the developer Dino Riders! has not published a species list, rarity tier names, mutation names, numeric speed values, drop rates, hatch odds, or prices. That is a long list of unknowns, and it is the single biggest reason the Ride a Dino dinosaur picker is hard to use on day one. The game runs on Roblox under placeId 131652231424227 by the verified developer Robots_Devv, with about 2.57 million visits, roughly 27.9K favorites, and around 2,490 players online in the latest snapshot. Those numbers drift daily, so treat any value cited here as a point-in-time read.
Reading Dinosaur Size, Speed, and Rarity Without a Public List
Because the dev has not shipped a species catalog, the picker is really a habit of reading what your own collection shows you. A beginner can still build a sharp mental model of size, speed, and rarity just by watching how each ride actually behaves in the open world.
Three Attributes You Can Feel in the First Session
Three observable attributes can be checked the moment your dino model loads into the ride scene, with no third-party overlay or stat tracker required. They are movement speed, body size, and rarity vibe — and together they form a quick first-impression ranking system you can apply to every new hatch in your collection. Spotting them early lets you decide within seconds whether a freshly-hatched dino deserves a permanent spot in your active roster or should be benched in favor of a faster, rarer pick.
-
Movement speed — how fast the dino crosses ground between egg nodes
-
Body size — how much of the screen the model takes up, which loosely tracks how hard it is to maneuver through tight gaps
-
Rarity vibe — how often the model, particles, or sound change compared to other hatches in your collection
Speed is the most important of the three in the early game because the loop literally says "ride a swifter mount to open eggs tucked further out." A pick that crawls will gate your access to better eggs, while a pick that sprints lets you test more hatches per hour.
How Size Maps to Practical Use
Large mounts tend to feel powerful but bump into map geometry more often, which matters in a game built around hidden eggs tucked into tight pockets. Smaller mounts squeeze into narrow corridors and reach eggs that a giant simply cannot. There is no official "size tier" published, but as a general rule, if your ride clips through a doorway on the way to an egg, the egg stays out of reach. Beginners usually do better starting with a mid-sized or small dinosaur and switching up to a larger one later for the novelty.
Why Rarity Alone Is a Bad Picker Signal
A rare dinosaur that crawls is still a crawler. The game describes the relationship plainly: better rarity opens doors, but better speed moves you toward those doors in the first place. New players who chase the rarest hatch in their first ten minutes often stall because they cannot reach the eggs that would hatch the next rarity up. Speed × rarity × mutation payoff is a better mental model than rarity alone, and it does not require any data the developer has not already published.
Building a Personal Pick Method for the Ride a Dino Dinosaur Picker
A real picker method is one you can run from your own collection in under a minute, and the one below does exactly that. Because the developer publishes no numeric speed, size, or popularity data, you cannot score mounts on measured values — you score them on the three things you can actually observe in a session: how fast the dinosaur covers ground relative to the others you own, how much of the screen it occupies in tight terrain, and how distinctive it looks next to the rest of your stable. Those three signals are the whole filter, and the highest composite read is your next mount.
Step-by-Step Picker Routine
-
Sort your current dinos by speed first — fastest at the top, slowest at the bottom.
-
Group them into speed tiers — slow, mid, fast. Most players end up with three natural bands after a few hours.
-
Within each tier, note rarity vibe — plain-looking, distinctive, flashy.
-
Within the fast tier, flag any dinosaur that also feels flashy — those are your "favorite" candidates.
-
If you have any mutation-ready dinos in the fast tier, treat them as the top pick — mutation adds a speed boost on top of base speed, so the compounding is largest here.
-
Keep one slow, plain dino as a fallback — slow mounts are still useful for tight egg rooms where sprinting past an egg is easy to do.
Speed Tier Comparison Table
Because no official speed values exist for any dinosaur, the only honest way to compare the mounts in your stable is to group them into bands built from in-session feel, egg reach, and day-to-day reliability; the Slow / Mid / Fast / Fast + Mutation bands below come from ranking that experience rather than any published number, which is why a favorite dinosaur pick should weight how your most-used dino actually performs against the egg zones you run.
| Speed Band | How It Feels | Best Use | Risk |
|---|---|---|---|
| Slow | Walking pace, easy to control | Tight egg corridors, learning the map | Limits egg reach to near-spawn zones |
| Mid | Comfortable jog | General exploration, mid-map eggs | Outclassed by faster players in shared servers |
| Fast | Sprint, covers large areas quickly | Reaching harder-to-find egg clusters | Easy to blow past hidden eggs |
| Fast + Mutation | Top-of-collection sprint | Egg routes that demand both speed and reach | The mutation is applied to one dino, so plan around switching mounts |
A speed comparison like this is more honest than any tier list that pretends to know the absolute values, because the band describes what the dinosaur actually does in your play session. For a fuller breakdown of how speed bands interact with rarity and mutation, the Ride a Dino run speed breakdown covers the same mechanics from the angle of pure movement.
Rarity Tier Comparison Table
Rarity in the dinosaur picker is a vibe call rather than a measured stat, so the bands below reflect what players actually feel when they compare a freshly hatched dino against one they've been riding for hours; the speed and size of the mount, the glow of its particles, and whether it seems to come from farther out on the map all feed that gut sense more than any hidden number does, which is why anchoring to the table beats chasing a fake percentage.
| Rarity Band | Visual Cue | Practical Effect on the Loop |
|---|---|---|
| Plain | Simple palette, simple model | Quick to hatch, low gate, few doors open |
| Distinctive | Brighter palette, occasional particles | Better egg access, a step up in your collection |
| Flashy | Glowing elements, unique sounds, particles | Harder egg clusters, more to chase |
| Showcase | Combines flashy visuals with mutation payoff | Sits at the top of most collections, slow to obtain |
The exact names of these bands are not published by the developer, so treat the labels as your own shorthand rather than official tiers. They are descriptors you invent to compare your own hatches, not categories the game will ever show you.
Beginner Decision Framework for Choosing a Ride a Dino Favorite
When you're choosing a ride a dino favorite dinosaur, looks only matter until the first speed comparison filter kicks in — a flashy but slow hatch will sit idle while a quicker one cycles through egg runs in the same session, and over a full farming loop that gap compounds into many more dinos cleared from your picker queue. Beginners who anchor their pick on appearance alone often stall their entire collection because their "favorite" keeps losing ground to faster alternatives they already own. Tie the emotional pick to raw speed and watch your ride a dino dinosaurs roster snowball instead of stagnate.
Three Questions to Ask Before You Pin a Favorite
-
Does it move fast enough to reach the eggs I cannot reach on foot? If the answer is no, keep searching.
-
Does it feel stable to control in tight spaces? A favorite that slams into walls is not a favorite for long.
-
Does it leave room for mutation payoff? A dino that is already at the top of your speed band has the most to gain from a mutation boost.
If all three answers are yes, the dinosaur is a real ride a dino favorite worth pinning to your loadout — it clears hard-to-reach egg clusters, holds a tight turn radius, and still has speed headroom a mutation could add to. If any answer is no, the pick is closer to a placeholder riding on raw level rather than on a thoughtful match between dinosaur speed, size, and your current mutation band, and it should be swapped out the moment a better option hatches.
Common Beginner Traps
Three traps catch new players in the first few days, and each one quietly sabotages a different part of the ride a dino dinosaur picker loop: shiny first-impressions pull attention away from the speed stat that actually matters for daily rides, a premature mutation feels productive but commits the boost to a dino you may replace in a session, and skipping the smallest silhouettes forfeits the tight egg rooms that top off your collection. Treating the early roster as a triangle of roles (daily driver, mutation project, small egg specialist) keeps all three traps inert before they compound.
-
Chasing flashy over fast — flashy looks rare but pays back less if the base speed is mid.
-
Mutating too early — the boost is most valuable on dinos you have already committed to as favorites, not on every fresh hatch.
-
Ignoring small dinos — small models reach tight eggs that large models simply cannot, which makes them a sleeper pick for collection completeness.
A practical rider picks one fast dino as a daily driver, one mutation-ready dino as a long-term project, and one small dino for tight egg rooms. That trio covers most of what the loop demands, and it does not require a single number the developer has not published.
How the Infinite Radar Game Pass Fits the Picker Decision
The only documented game pass is the Infinite Radar, which the official listing describes as a radar you can use forever that always finds the nearest egg. The pass is not part of the dinosaur picker itself, but it does change how much your speed matters. A fast dino with Infinite Radar will reach the nearest egg noticeably faster than a slow dino with the same pass, which makes the speed tier of your favorite more important if you plan to buy the pass. Beginners who skip the pass should still weight speed heavily because the manual search loop rewards quick traversal.
Advanced Picker Strategy: Speed, Mutation, and Collection Value
Once the basics are in place, the picker turns into a long-term collection decision where speed, mutation, and the dinosaur's body size all compound over time. A mount that looks average at first can climb to dominant status once you mutate it for extra speed, since the real payoff is how the boost raises its movement value in your collection, which in turn increases the chance it keeps its spot as your ride a dino favorite dinosaur. Because mutation is applied to one dinosaur at a time, a player chasing a stronger ride a dino dinosaur size profile should evaluate each hatch on three axes at once — base speed feel, how much the mutation would add, and current collection progress — rather than chasing speed alone, since the "pick the fastest" logic breaks down once your fastest mount is also the one carrying the boost. The mechanics interact predictably, but only when you read them as a connected system rather than independent checkboxes.
Mutation Payoff Across the Speed Bands
Mutation adds a speed boost on top of base speed, which is why the same mutation feels small on a slow dino and dramatic on a fast one. Most players report that the compounding is the real prize, not the mutation name itself. The developer has not published a list of mutation names, so any tier list that names specific mutations is guessing. A more useful question is whether the base dinosaur is already a favorite — if it is, the mutation is worth committing.
Long-Term Collection Value
A dino that stays useful across multiple updates is more valuable than a dino that peaks for a week. The most resilient favorites share three traits: a speed band that still beats on-foot traversal after a balance shift, a rarity vibe that does not get outclassed by newer flashy hatches, and a body size that still fits the egg rooms the dev is designing around. If your favorite keeps all three traits through the next update, it is a long-term pick.
Switching Your Favorite Mid-Run
A favorite swap is justified when the current pick fails one of the three beginner questions above, or when a new hatch offers clearly better speed at a similar rarity vibe. Resist swapping for pure novelty, because the loop rewards repeat runs on the same dino more than chasing the newest flash. A good rule is to give any new favorite at least one full map-clearing session before committing.
Cross-Linking to a Full Strategy Reference
For a wider read on how early-game, mid-game, and mutation loops fit together, the Ride a Dino strategy guide walks through the same progression from a different angle. Pairing that guide with the picker method here gives you both the "what should I ride" answer and the "when should I move on" answer.
Frequently Asked Questions
What is the Ride a Dino dinosaur picker and how do I use it?
There is no in-game picker tool. The Ride a Dino dinosaur picker is a personal method: sort your current dinos by speed, group them into slow/mid/fast bands, and pick a fast dino that also feels distinctive. Speed matters more than rarity because the official loop says faster rides reach harder-to-find eggs, which is where better hatches come from.
Does the game publish dinosaur size and speed values?
No. As of 2026-10-18, the developer has not published a species list, rarity tier names, mutation names, or numeric speed values. Any absolute number you see elsewhere for this game is community-tested, may vary by update, and should be treated as a relative band rather than a hard stat. The official channels only describe the mechanics, not the numbers behind them.
How do I pick a favorite dinosaur as a beginner?
Pick a fast dino that controls well in tight spaces and still has speed a mutation could add to. Avoid chasing the rarest hatch on day one, because slow picks gate your access to better eggs. A useful trio is a fast daily driver, a mutation target, and a small dino for tight egg rooms, which together cover most of the loop.
Is the Infinite Radar game pass worth it for a new player?
It depends on how much you value skipping the manual search. The pass points you to the nearest egg, but it does not change your speed, so a slow dino with the pass still feels slow. Beginners who want to hatch more dinos per session and already own a mid-or-faster favorite will get the most from it; players still exploring on a starter mount will get less.
Can I hatch a better dinosaur without a faster mount?
Yes, but it is slower. The official loop says faster dinos reach harder-to-find eggs, so a faster mount expands the egg pool you can reach, not the eggs you can hatch. Walking the map will still find easy eggs, and a patient player can grind the same way, but a fast ride compresses the time per hatch significantly.